
What Actually Happens During Professional Timber Restoration?
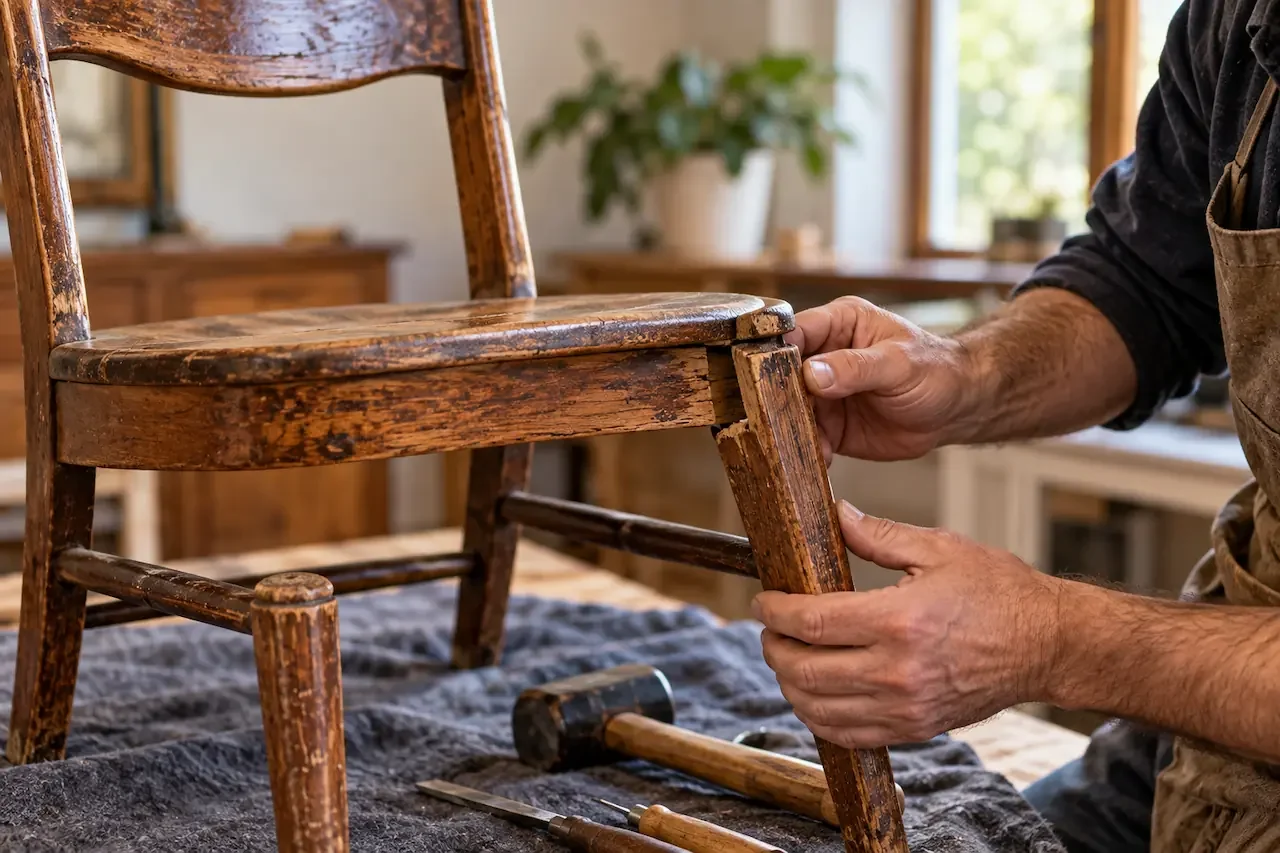
Most people see the finished result of timber restoration: cleaner timber, better colour, repaired damage and a finish that makes the furniture usable again.
What they do not see is most of the work that happens before that point.
Professional timber restoration is not simply sanding a piece back and putting a new coating on it. Before I touch the visible surface, I want to know what timber I am looking at, whether it is solid or veneered, what finish is already there, what has previously been repaired and whether anything underneath is structurally unsound.
That assessment often determines whether a piece is restored carefully or permanently damaged.
I restore mid-century and vintage furniture in Melbourne, and I approach each piece individually. Some need extensive work. Others need surprisingly little.
The skill is knowing the difference.
Timber Restoration Starts With Diagnosis, Not Sanding
The first thing I do is inspect the furniture as a complete object.
A faded tabletop might only need surface work, but it could also be sitting on loose joints. A dark patch may be damage in the timber, an old stain or simply a different coating applied years later.
A scratch can look terrible while only affecting the finish.
Meanwhile, a piece that looks reasonably good may move when pressure is applied because a joint underneath has started failing.
That is why restoration begins with diagnosis.
Before deciding how to repair a piece, I look at:
timber species where it can be identified
solid timber versus veneer
grain direction
existing finish
scratches, stains and water damage
joints and structural movement
previous repairs
colour differences
edges and profiles
original hardware, labels and details worth preserving
The aim is to understand what has actually happened before deciding what needs changing.
Solid Timber and Veneer Need Different Treatment
One of the easiest ways to damage mid-century furniture is to assume everything that looks like timber can be sanded in the same way.
It cannot.
Many good mid-century cabinets, sideboards, tables and desks use timber veneer. That is not a sign of cheap furniture. Veneer allowed manufacturers to use attractive grain efficiently and consistently across large surfaces.
The problem for restoration is thickness.
A veneer may only provide a relatively thin timber surface over the material beneath it. Aggressive sanding can go straight through that layer.
Once that happens, there is no magic trick that puts the original veneer back.
Before sanding, I look at edges, undersides, drawer interiors and other concealed areas to work out how the furniture was constructed.
Those areas can also tell me something about the original colour and finish before decades of sunlight, polish and use changed the visible surfaces.
Why More Sanding Is Not Better Restoration
Sanding has a place in timber restoration.
It just should not be the automatic answer to every problem.
Once timber has been removed, it is gone. Heavy sanding can flatten details, soften edges and change the proportions that made the furniture look right in the first place.
With veneer, the risk is considerably greater.
Sometimes the better approach is cleaning, localised repair, gentle abrasion or controlled removal of an old coating rather than taking every surface back to bare timber.
This is where experience matters.
The question is not:
How much can I sand?
It is:
How little material can I remove while still solving the problem?
That is a much safer way to approach old furniture.
Old Finishes Need to Be Identified Before They Are Removed
The surface you see today may not be the surface the furniture left the factory with.
Over several decades, a piece may have accumulated:
varnish
polyurethane
oil
wax
stain
polish
touch-up products
previous restoration coatings
Sometimes several of those are sitting on top of each other.
Applying a new finish without understanding the existing surface can cause adhesion problems, cloudiness, uneven colouring or a result that simply looks wrong for the piece.
My approach to teak and timber furniture refinishing in Melbourne starts with understanding what is already present and how much of it actually needs to be removed.
The objective is not to automatically strip everything.
It is to create a stable surface while preserving the timber underneath.
Structural Repairs Come Before a Beautiful Finish
There is not much value in producing a beautiful tabletop if the table underneath is slowly coming apart.
Loose joints, moving frames, cracked components and poor previous repairs need to be dealt with before refinishing.
This matters particularly with:
dining chairs
tables
stools
cabinets
sideboards
furniture carrying regular weight
A structural problem may not always be obvious until the piece is inspected or tested carefully.
Loose Joints Usually Need More Than Extra Glue
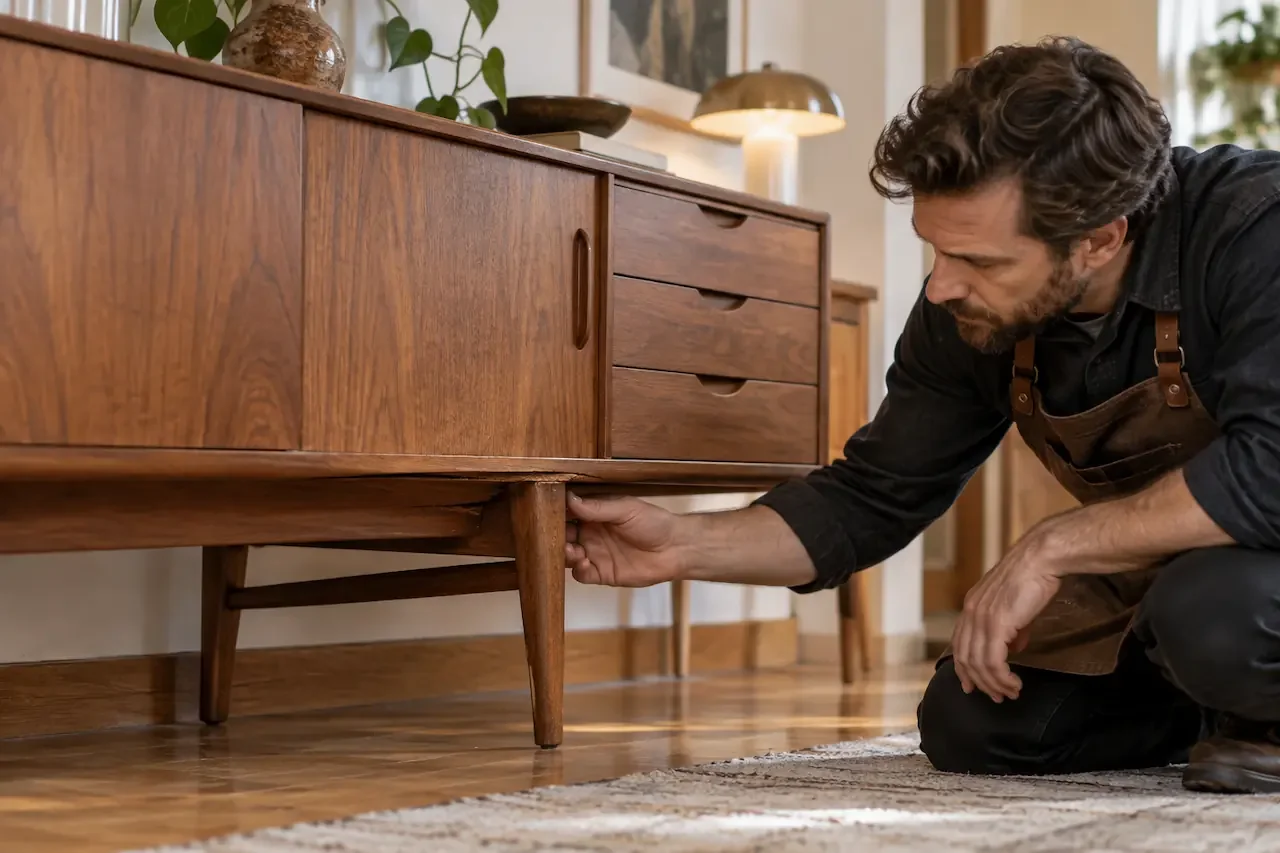
When a joint starts moving, squeezing fresh glue into the visible gap can look like the obvious solution.
It often is not.
The original adhesive may have failed. The joint may be worn, contaminated, damaged or slightly out of alignment.
In some cases, the connection needs to be carefully opened, cleaned and inspected before it can be properly repaired.
The goal is to restore strength without replacing original parts unnecessarily.
I cover this work separately in my furniture repair and structural restoration service.
Previous Repairs Can Make Restoration Harder
Old furniture has usually lived a life before it reaches my workshop.
Sometimes that history includes repairs.
I regularly come across screws driven through joints, metal brackets added underneath furniture, unsuitable glue, filler pushed into moving gaps or repairs designed mainly to stop a problem being visible.
They can work temporarily.
They can also create a second problem.
A screw may split surrounding timber. A bracket can change how a frame moves. Hardened adhesive can prevent a joint from fitting together properly during a later repair.
Part of restoration is therefore understanding not only what failed originally, but what somebody else has already done about it.
Cleaning Comes Before Assuming the Timber Is Damaged
Furniture accumulates far more than dust.
Over decades, a surface may collect:
oils from hands
smoke residue
wax
household polish
cleaning products
grime
airborne contaminants
All of that can change how timber looks.
A surface that appears dark, cloudy or lifeless may sometimes be hiding underneath years of accumulated material.
Cleaning helps reveal what condition the finish and timber are actually in.
It also needs to be done carefully.
An aggressive cleaner can soften an old coating, move colour around the surface or damage fragile areas.
I often test less visible areas first and adjust the method according to how the furniture responds.
Not Every Scratch Should Completely Disappear
This is one of the parts of restoration that can feel counterintuitive.
Sometimes removing a mark completely would cause more damage than leaving a small amount of it visible.
Imagine a deep scratch across thin veneer.
To sand until the bottom of that scratch disappears may mean removing too much veneer from the surrounding area.
In that situation, reducing the contrast of the scratch and making the surface visually balanced may be the better restoration.
The same principle applies to dents, colour variation and small signs of wear.
Old furniture does not need to pretend it was manufactured yesterday.
Patina Is Not the Same as Damage
Furniture changes with age.
Light, handling and use gradually affect colour and surface appearance. Collectively, those changes can form part of the patina of the piece.
Not everything uneven needs to be stripped away.
Removing every sign of age can leave vintage furniture looking strangely flat or overly new.
With mid-century furniture especially, I try to distinguish between:
deterioration that needs intervention
surface wear that can be improved
age that contributes to the character of the piece
That decision is part of restoration.
There is no setting on a sander for it.
Veneer Repairs Depend on More Than Matching Colour
When veneer is damaged or missing, finding a patch that looks vaguely the same colour is not enough.
Grain direction matters.
So does:
timber species
figure
texture
colour
surrounding finish
direction of light
the shape of the repair
A replacement that matches colour but has grain running in the wrong direction can remain obvious from across the room.
When replacing a small section of veneer or timber, I try to make the repair sit quietly within the rest of the piece rather than draw attention to itself.
Perfect invisibility is not always realistic.
Visual balance usually is.
Choosing the Finish Is Part of the Restoration
There is no universal “best finish” for timber furniture.
The right choice depends on the furniture itself.
I consider:
timber species
original coating
intended use
desired sheen
existing colour
maintenance requirements
level of protection needed
period character
A dining table that sees daily use has different requirements from a decorative cabinet.
Durability matters, but it is not the only concern.
A very thick coating might provide plenty of protection while making a mid-century piece look like it has been wrapped in plastic.
The finish should support the furniture rather than dominate it.
For a deeper explanation, I have covered the best finishes for mid-century furniture restoration separately.
Application Matters as Much as the Product
Even a suitable finish can look poor when preparation or application is rushed.
Finishing requires control.
That includes managing:
surface preparation
dust
application thickness
drying time
curing
colour build
sheen
conditions in the workshop
More product does not automatically produce a better finish.
Sometimes several controlled stages produce a much more natural result than one heavy application.
And sometimes the correct next step is simply waiting.
Furniture restoration contains an unreasonable amount of waiting for things to dry properly.
Unfortunately, timber has declined every invitation to work faster.
What Skills Make Someone Better at Furniture Restoration?
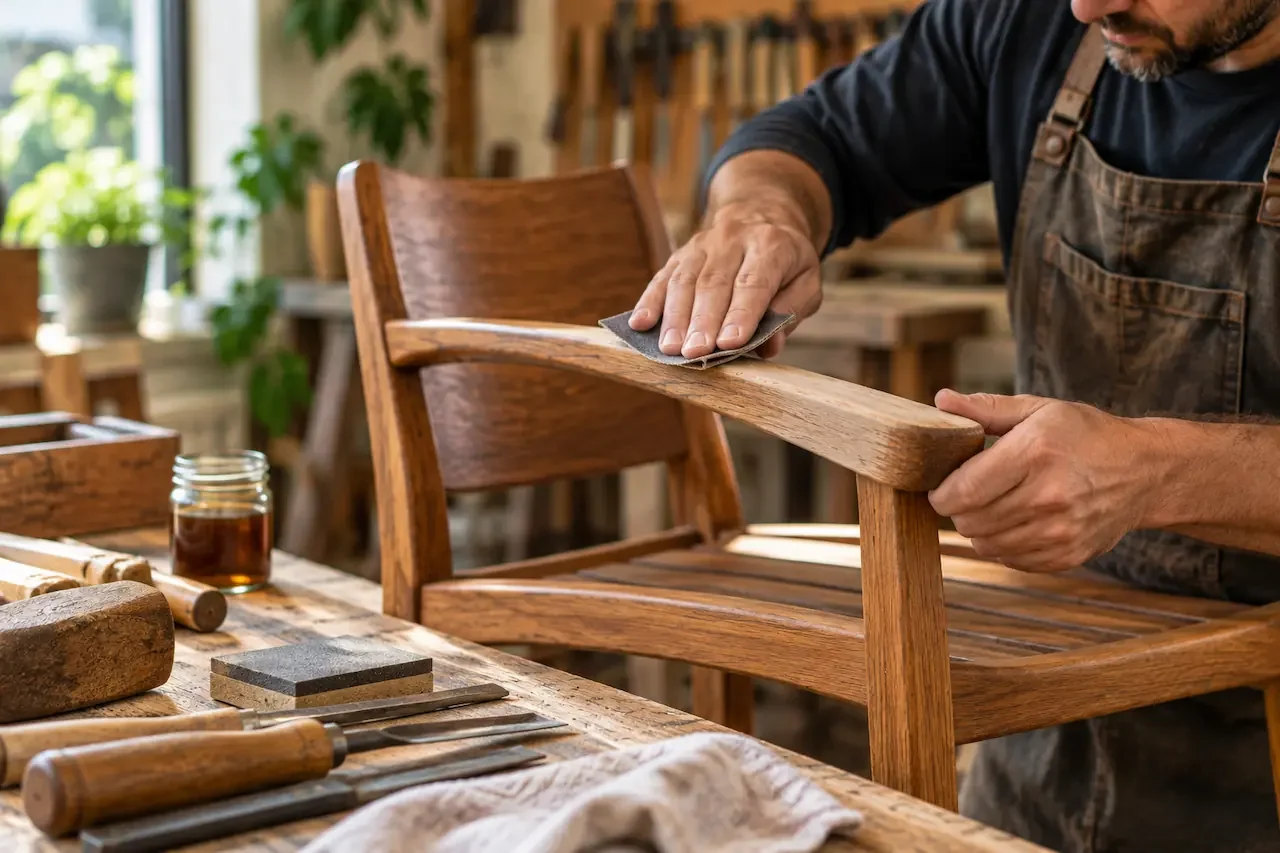
One of the search questions that leads people to this subject is how to improve furniture restoration skills.
The answer is not simply to complete more projects.
Practice helps, but only if you are paying attention to what each project teaches you.
The skills I consider most useful are:
1. Learn to identify materials before using tools
Get comfortable distinguishing solid timber, veneer, substrates, existing finishes and previous repairs.
The wrong diagnosis creates the wrong repair.
2. Improve your observation
Look at edges, undersides, drawer interiors, hardware and concealed areas.
They often tell you more about the furniture than the main visible surface does.
3. Use the least aggressive method first
Do not automatically start with the strongest stripper, coarsest abrasive or fastest machine.
You can always remove more material.
Putting it back is considerably less convenient.
4. Practise controlled tool use
Accuracy matters more than speed.
Learn what a tool is doing to the material rather than concentrating only on reaching the finished result.
5. Learn from small mistakes
Furniture restoration involves problem solving.
When something behaves unexpectedly, stop and work out why before adding another process on top of it.
6. Study good original furniture
Look closely at how well-made pieces were constructed, joined, veneered and finished.
It becomes much easier to restore furniture when you understand what the original maker was trying to achieve.
7. Get practical feedback
Videos and books are useful, but they cannot see what you are doing with your hands.
For people who want supervised practical experience, I also run furniture restoration workshops in Melbourne covering assessment, timber and veneer, preparation, repairs and finishing techniques.
The fastest improvement usually comes from combining knowledge with repeated, careful hands-on work.
What People Rarely See Behind a Finished Restoration
Before-and-after photographs make restoration look very tidy.
Real workshop work is less theatrical.
Behind the finished piece, I may have spent time:
testing products in concealed areas
photographing components before disassembly
protecting labels and original hardware
checking joints repeatedly
matching veneer grain
comparing colour under different light
waiting for adhesive to cure
allowing finishes to dry properly
correcting small alignment problems
deciding not to alter something that is better left alone
None of those steps makes a dramatic social media photograph.
They are still part of the work.
Patience is not separate from craftsmanship.
It is one of the tools.
When DIY Timber Restoration Becomes Risky
There are plenty of furniture jobs an owner can handle themselves.
Basic cleaning and maintenance, for example, may be straightforward when you know what finish you are dealing with.
Full restoration is different.
I would be particularly cautious about DIY work when:
the furniture contains veneer
the timber species is unclear
the existing coating is unknown
joints are moving
legs or frames are out of alignment
water damage is present
veneer is lifting or missing
someone has already attempted a repair
you are considering aggressive sanding
the piece has significant financial or sentimental value
The important question is not whether you know how to operate a sander.
It is whether you know when not to use one.
That distinction saves quite a lot of furniture.
Beginner restoration discussions repeatedly raise the same problem: people begin sanding before recognising that a surface is veneered, then discover how little material they actually had to work with.
Assessment comes first.
Is Timber Furniture Worth Restoring?
There is no single rule.
A piece does not need to be rare or enormously valuable to justify restoration.
It may be worth restoring because of:
good construction
quality timber
useful design
sentimental importance
replacement cost
provenance
suitability for the home
personal attachment
A well-made dining table with a badly worn finish may still have decades of use left in it.
A loose chair may only require structural attention.
A sideboard with localised veneer damage can still be an excellent restoration candidate.
At the same time, not every possible repair is sensible.
There are cases where extensive intervention would cost more than the furniture reasonably warrants or where previous damage has already removed too much original material.
Good advice should include the option of not doing unnecessary work.
You can see examples of completed projects in my mid-century furniture restoration gallery.
How to Care for Timber After Restoration
Restoration does not make timber indestructible.
After a piece is restored:
wipe spills promptly
use coasters and placemats on frequently used surfaces
avoid prolonged strong sunlight where practical
keep hot objects away from finished timber
avoid abrasive cleaning products
avoid silicone-heavy furniture polish
follow maintenance advice for the particular finish
Different finishes require different care.
An oil-finished surface does not necessarily need the same maintenance as lacquer, shellac or another film-forming finish.
If you do not know what finish is on the furniture, find out before adding another product.
Layering incompatible coatings is a remarkably effective way to create work for the next person restoring it.
What Good Timber Restoration Should Achieve
I do not think good restoration needs to make furniture look brand new.
It should make it feel right again.
The structure should be sound.
The surface should be protected.
Repairs should not dominate the design.
The timber should still look like timber.
And the piece should retain the parts of its history that do not interfere with its function or integrity.
That result comes from diagnosis, controlled repair, careful preparation and restraint.
Sanding and finishing are part of timber restoration.
Knowing when, where and how much to do is the actual craft.
Professional Timber Restoration in Melbourne
I carry out timber furniture restoration from my Fitzroy workshop for clients across Greater Melbourne.
My work focuses mainly on mid-century and vintage furniture, including:
teak furniture
dining tables
sideboards
chairs
cabinets
desks
veneer furniture
structural furniture repairs
timber refinishing
Every piece is assessed before I decide what work makes sense.
If you have furniture with loose joints, damaged veneer, a badly worn finish, water marks, previous repairs or an unknown coating, you can send me photos of the piece.
Photographs of the full furniture item, damaged areas, joints, undersides and existing finish usually give me a useful starting point.
Frequently Asked Questions
What is timber furniture restoration?
Timber furniture restoration is the process of repairing and preserving damaged or worn wooden furniture. Depending on the piece, it can involve assessment, cleaning, structural repairs, veneer work, surface preparation, colour correction and refinishing.
What is the difference between timber restoration and refinishing?
Refinishing mainly deals with the surface and protective finish. Restoration can include refinishing but may also involve structural repair, veneer work, component repair and preservation of original materials.
Can all scratches be removed from timber furniture?
No. Shallow scratches may only affect the finish, while deeper marks can extend into the timber or veneer. Removing a deep scratch completely can sometimes require too much material to be removed, so reducing its appearance may be the safer option.
Can veneer furniture be restored?
Yes, depending on its condition. Lifting, chipped or missing veneer can often be repaired, but veneer requires careful handling because the visible timber layer may be thin.
Should old furniture always be sanded before refinishing?
No. The material, existing coating and condition should be assessed first. Cleaning, stripping or localised surface work may be more appropriate, particularly with thin veneer.
What is the best finish for restored timber furniture?
There is no single best finish for every piece. Timber species, original coating, intended use, colour, sheen and required protection all affect the choice.
How can I improve my furniture restoration skills?
Start by improving material identification, observation, measuring, controlled tool use and surface preparation rather than chasing complicated techniques. Work slowly, practise on lower-risk pieces and learn why each process is being used before applying it.
How long does professional timber restoration take?
It depends on the size, condition and work required. Structural repairs, veneer replacement, removal of unsuitable coatings and multi-stage finishing all affect the timeframe, and adhesives and finishes need proper curing time.
Can furniture that has already been badly refinished be restored again?
Often, yes. It depends on how much original material remains and what products or repairs have previously been used. Aggressive sanding, thick coatings and damaged veneer can limit the available options.
Where can I get timber furniture restored in Melbourne?
Mid Century Restoration provides timber furniture restoration, structural repairs and refinishing from a private workshop in Fitzroy, servicing clients across Greater Melbourne.